The Hummingbird keyboard retrospective
I have started using a hummingbird keyboard, here is my experience after one month.
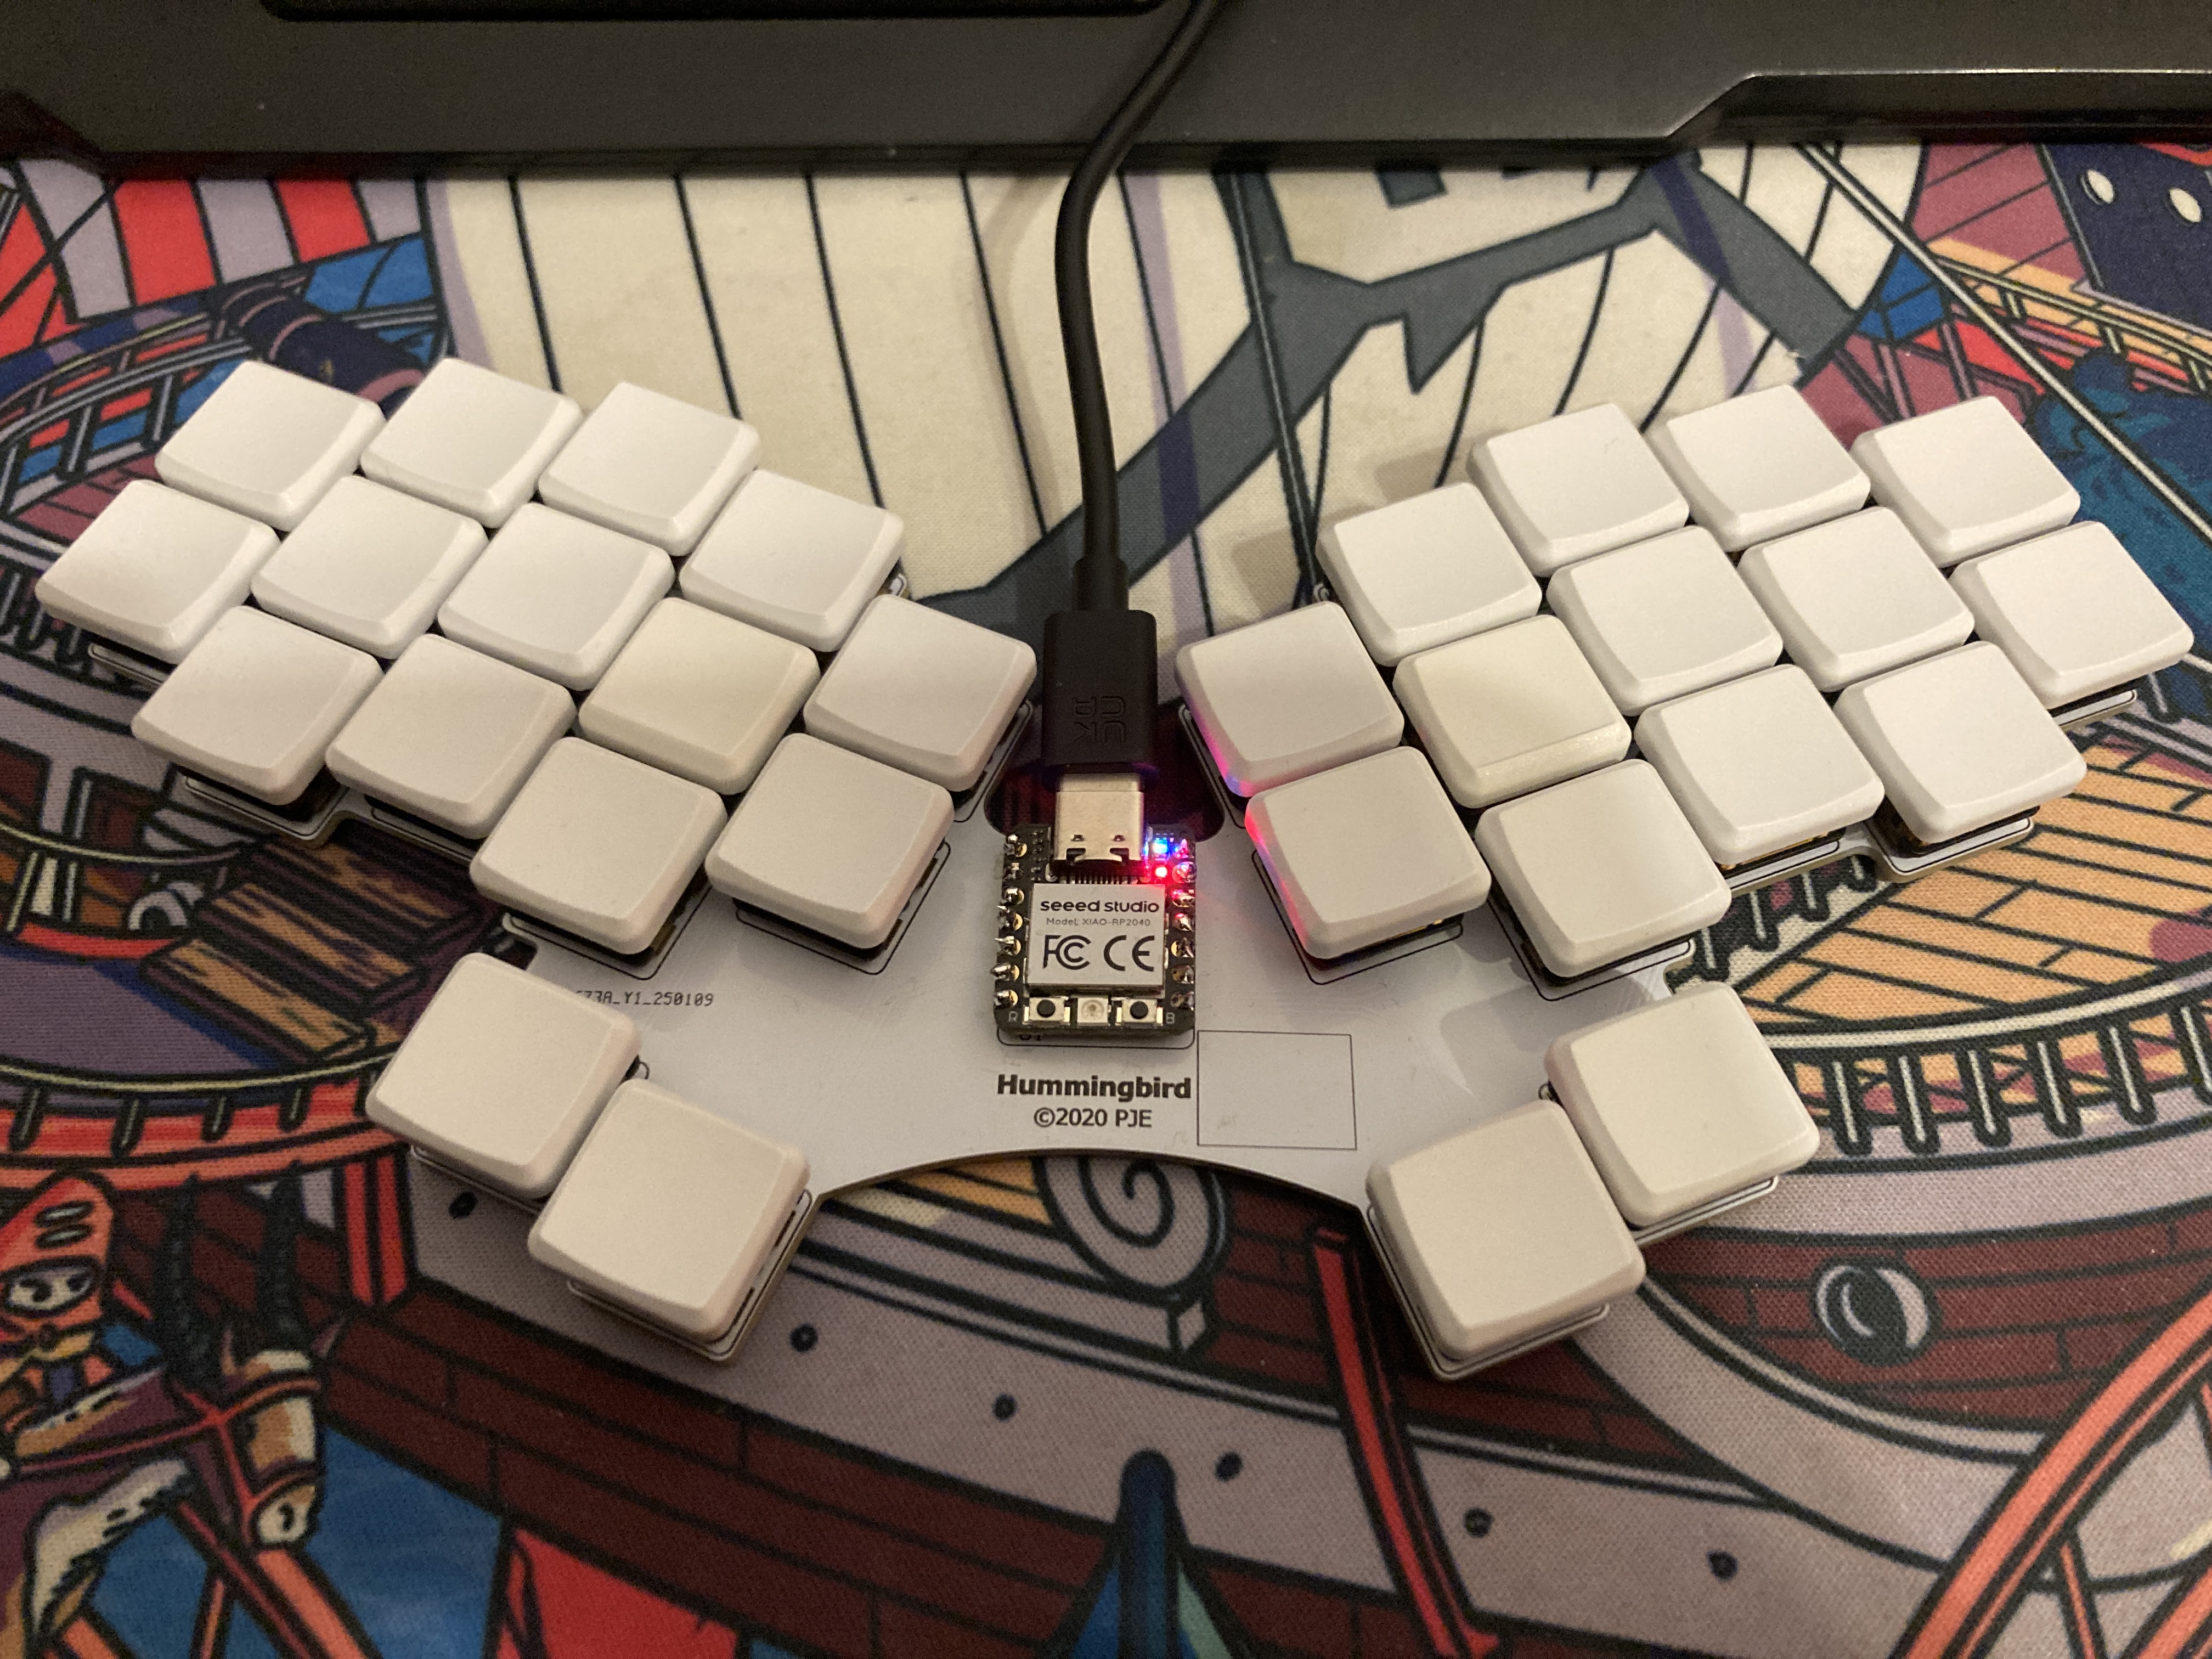
The hummingbird on my desk
This article talks mostly about the hardware aspect of the hummingbird. If you are mostly interested in the firmware configuration that I have set up on it, I invite you to check my other article on the hummingbird that specifically covers that aspect of it.
Preparation and assembling
Given the pretty poor tooling I have at my disposal, and my skills which are frankly lacking, the assembly went pretty well! Soldering the surface-mounted diodes which are hidden under the keys was easier than I anticipated, and the rest was all through-hole components, I had a blast!
I was quite impressed by the low amount of components, I knew it was a small keyboard, but having only diodes, switches and a single micro-controller after having assembled two split keyboards with leds was quite refreshing.
The hardest part turned out to be choosing which firmware to flash on the keyboard and configuring it (I ended up with ZMK).
First impressions
As I talked about in another article, I have learned to use this keyboard before even choosing it! So adapting to it was relatively straightforward.
Having had an ergonomic layout on a regular keyboard for months, I initially felt like it wasn’t that much of an improvement, and was almost a little sad that I didn’t feel that much difference. Then I went back to my previous keyboard, and oh my oh my the difference!!! It was what truly made me certain of my decision: I am never going back!
The size feels perfect, I am super happy with the tiny board, I can lay it just about anywhere and it takes no space on my desk.
Side note: Because I had learned my layout on a regular keyboard with a giant space bar, I had gotten used to keeping my thumbs on the inside of my hand, and it took a while to let them rest in an ergonomic position on the thumb keys, but once I got used to it, I felt assaulted by my old keyboard!
Configuring the keyboard
ZMK is very nice! It has an approachable learning curve, and the fact that it’s compiled in a GitHub action is amazing once the initial configuration is written and you only write minor changes. It also enforces having my config backed up, so I’m certain that I have the latest version online at all times. I don’t have to remember to commit, because I have to commit to see the changes.
I will admit it’s quite annoying having to wait 2 full minutes to get the firmware after pushing changes, but since I mostly do minor changes every now and then it’s not a big deal.
Fixing the keyboard
In two instances, I had a key that would stop registering, and end up not working at all. In both cases, the diode simply needed a reflow, and it took me under 15 minutes to fix it.
That’s a nice advantage to assembling the keyboard myself, and to having so few components, I am automatically limiting the amount of potential failure points!
The IKEA effect is real!
“The IKEA effect is a cognitive bias in which consumers place a disproportionately high value on products they partially created.”
That’s it. I love this keyboard, I don’t want to work without it anymore, I want to take care of it, build a custom carry-case so that it can follow me easily, I want to adapt my workflow around it.
I know I’m heavily biased because I’ve assembled it myself, and I kind of don’t care.
It was a journey choosing components, sourcing them and assembling the keyboard, but it was such a pleasant one, and now I get to use something that I truly chose, and that I built for myself.
It’s a great feeling, I cannot recommend enough.
Getting used to it.
As I am writing this paragraph, I have had this keyboard for a month. I can confidently say that I like it, and fully intend to keep using it.
Although the physical keyboard will not change in the foreseeable future, I am constantly updating the firmware to fit my needs better, and I invite you to read my article on the subject, as it deserves its own conversation.